How to Install Windows 11 on Unsupported Hardware (Bypass TPM, Secure Boot, and RAM Check)
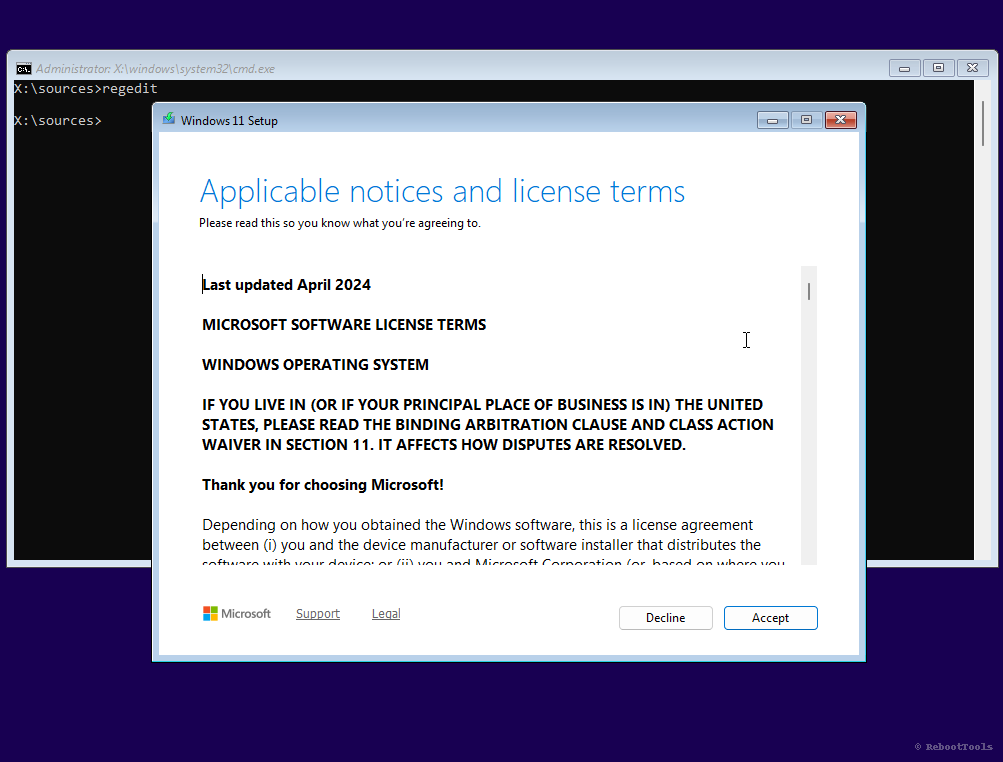
Quick answer: you can install Windows 11 on unsupported hardware by launching the official setup, opening the Registry Editor with Shift + F10, creating the LabConfig key, and adding three DWORD values: BypassTPMCheck, BypassSecureBootCheck, and BypassRAMCheck, each set to 1.
Windows 11 introduced stricter hardware requirements such as TPM 2.0, Secure Boot, and at least 4 GB of RAM. These checks block many older desktops, laptops, and custom-built PCs from installing or upgrading to Windows 11, even when the hardware is otherwise perfectly usable for everyday work.
This guide explains how to install Windows 11 on unsupported hardware using a registry-based bypass during the official setup process. The method does not require a modified ISO, unofficial Windows builds, or third-party patchers. It works with a standard Microsoft image and is one of the cleanest ways to bypass the Windows 11 TPM check, Secure Boot check, and RAM requirement during installation.
If your goal is simply to create the installer first, use a reliable USB tool such as Rufus, Ventoy, or Balena Etcher. This tutorial focuses on the actual bypass during setup, not on ISO modification.
Before You Start
- An official Windows 11 ISO or USB installer
- A bootable USB created with Rufus, Ventoy, or Balena Etcher
- At least 20 GB of free disk space
- A backup of important files before installation or upgrade
- Basic access to BIOS/UEFI boot menu if you are installing from USB
This method is intended for advanced home users, technicians, and anyone who wants to keep an older PC useful instead of replacing it only because Windows Setup blocks the installation.
Who This Guide Is For
This guide is especially useful if:
- Your PC does not have TPM 2.0 enabled or available
- Your motherboard does not support Secure Boot, or it is currently disabled
- You are installing Windows 11 on older hardware that still performs well
- You want to use the official Windows 11 installer instead of unofficial modified images
- You prefer a simple registry-based bypass instead of rebuilding installation media
If you also maintain recovery media, it is worth keeping Hiren’s BootCD PE nearby. It is useful for backup, diagnostics, and file recovery before making major OS changes.
Why Windows 11 Blocks Older PCs
Microsoft uses hardware checks during setup to enforce minimum requirements for Windows 11. The most common blockers are TPM 2.0 and Secure Boot, but low memory can also stop the installer. In practice, many unsupported PCs can still run Windows 11 acceptably, especially for browsing, office work, light media use, and general productivity.
That is why so many users search for ways to bypass TPM and Secure Boot for Windows 11. The method below works inside the setup environment itself and is cleaner than using heavily modified ISOs.
1. The Error Message
If your PC lacks Secure Boot or TPM 2.0, the setup will fail with the following message:
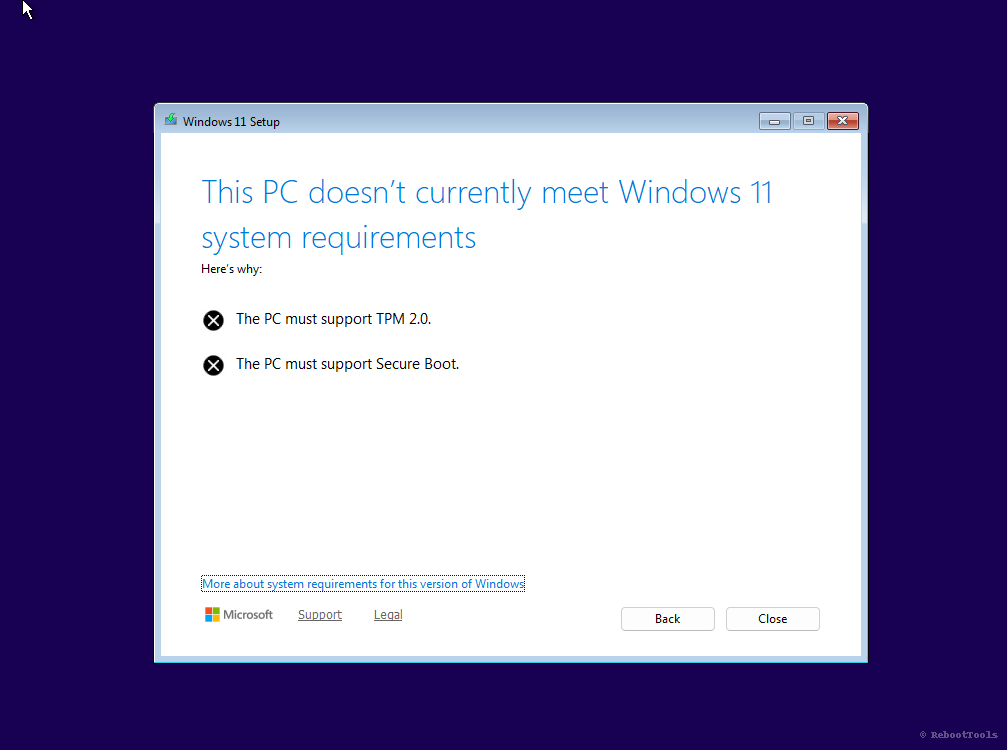
This screen indicates that your PC does not meet the official minimum requirements. The installer is checking hardware before allowing the installation to continue.
2. Open Registry Editor (regedit)
Press Shift + F10 to open a command prompt during Windows Setup. This shortcut gives temporary access to system tools inside the installer environment.
Then type regedit and press Enter to open the Registry Editor.
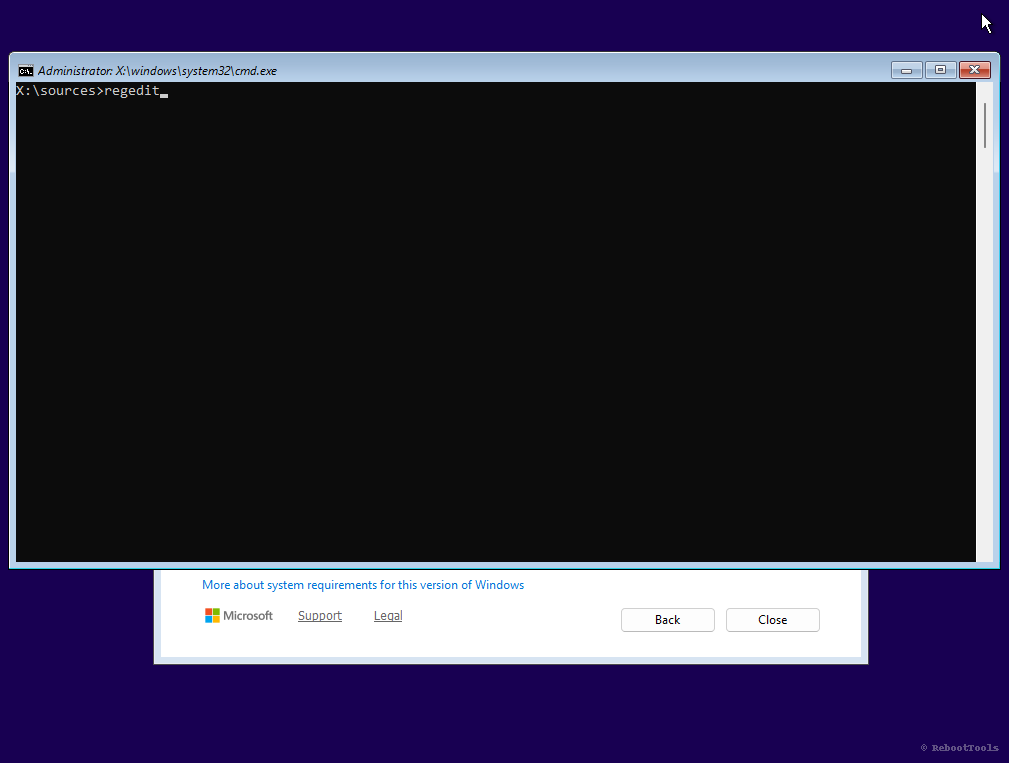
This is the point where the Windows 11 unsupported hardware bypass begins. We are not changing the ISO or patching system files; we are only adjusting setup behavior from inside the installer.
3. Navigate to Setup Key
In the Registry Editor, browse to:
HKEY_LOCAL_MACHINE\SYSTEM\Setup
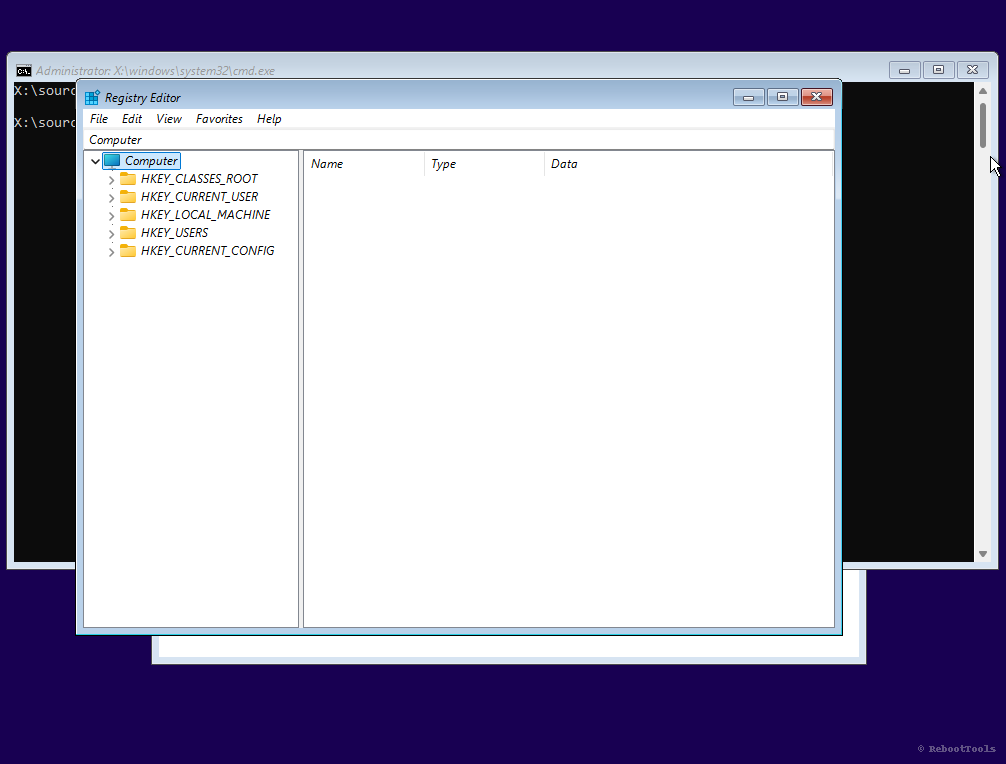
This is the location where we will add a new key to tell Windows Setup to ignore specific hardware checks.
4. Create the “LabConfig” Key
Right-click on Setup, select New → Key, and name it exactly:
LabConfig
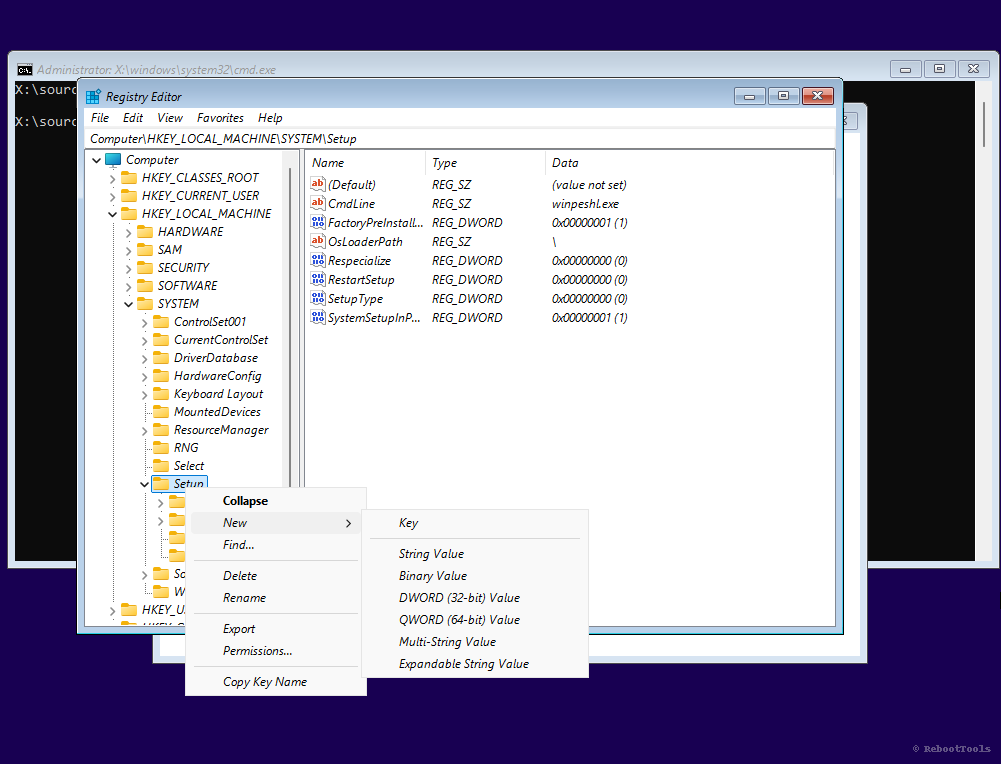
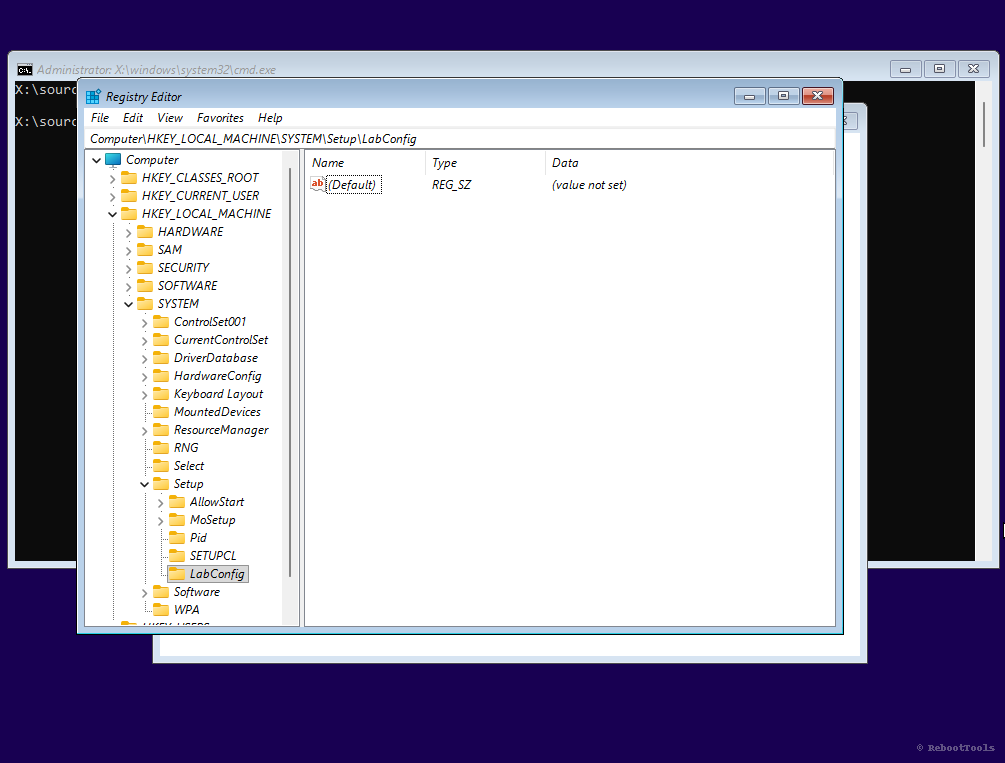
The LabConfig key stores the bypass values used by setup. If the name is typed incorrectly, the method will not work, so use the exact spelling shown above.
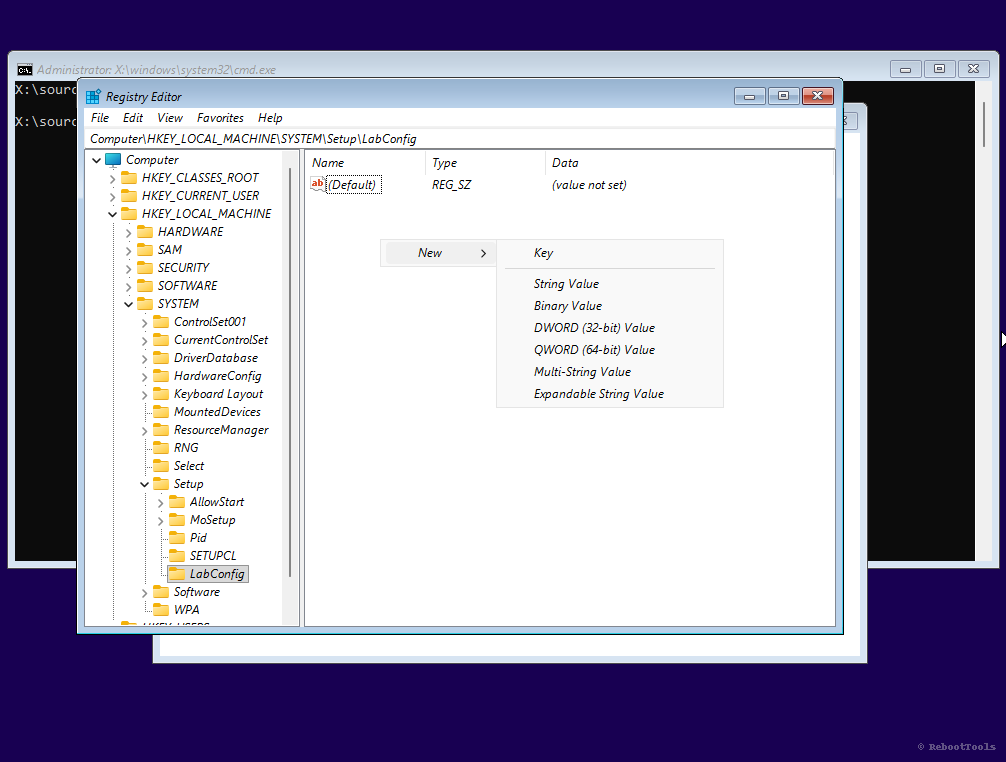
5. Create Bypass Values
Now, inside LabConfig, create the following DWORD (32-bit) values:
BypassTPMCheck→ set to 1BypassSecureBootCheck→ set to 1BypassRAMCheck→ set to 1
To do this, right-click in the right-hand pane, select New → DWORD (32-bit) Value, and name each value exactly as shown above.
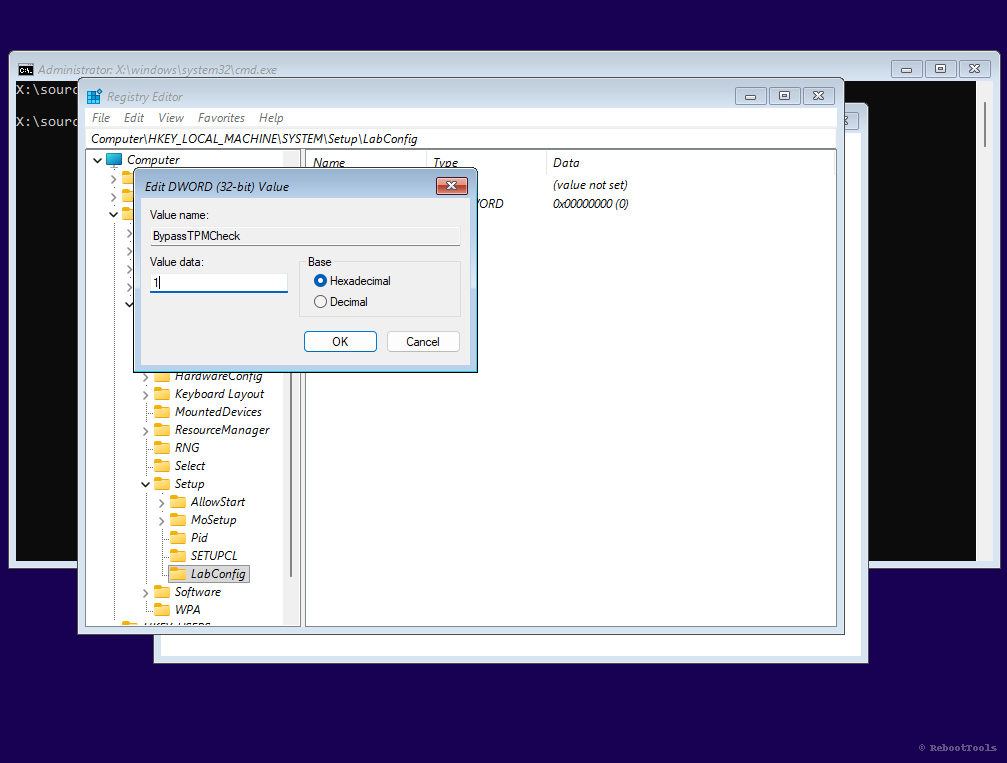
After creating each value, double-click it to open the edit window. Set the Value data to 1, leave the base as Hexadecimal, and click OK.
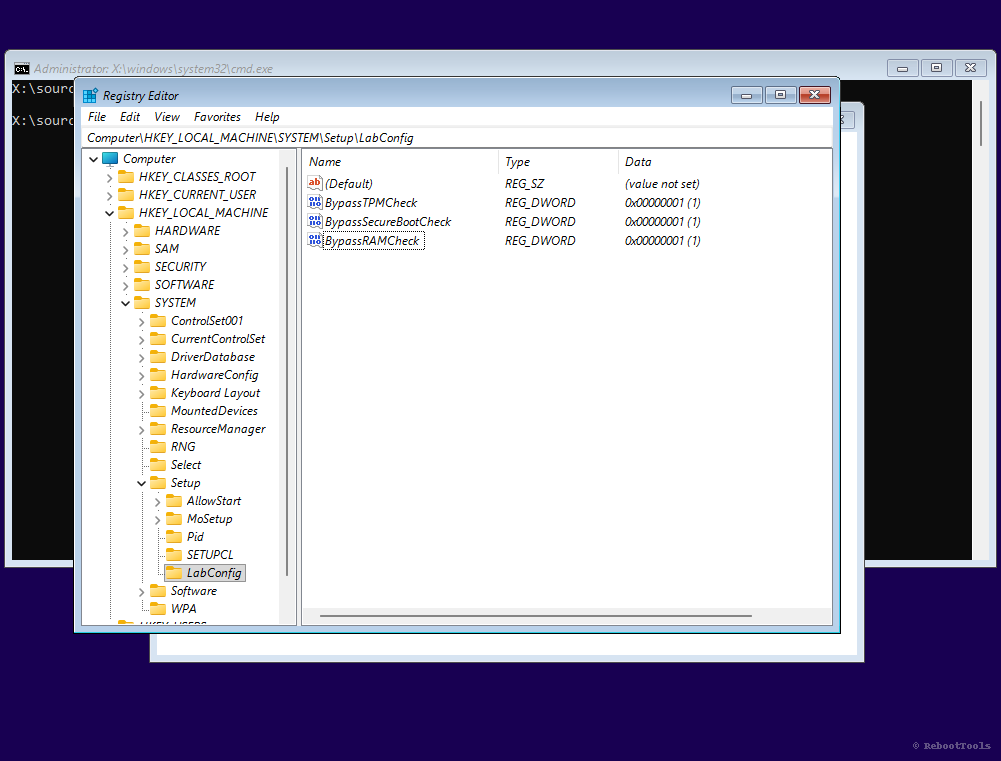
These three values are the core of the bypass. Together they disable the TPM, Secure Boot, and RAM checks during Windows 11 setup on unsupported hardware.
6. Resume Installation
Close Registry Editor and Command Prompt. Then go back in setup and click Next again. The compatibility block should no longer prevent installation.
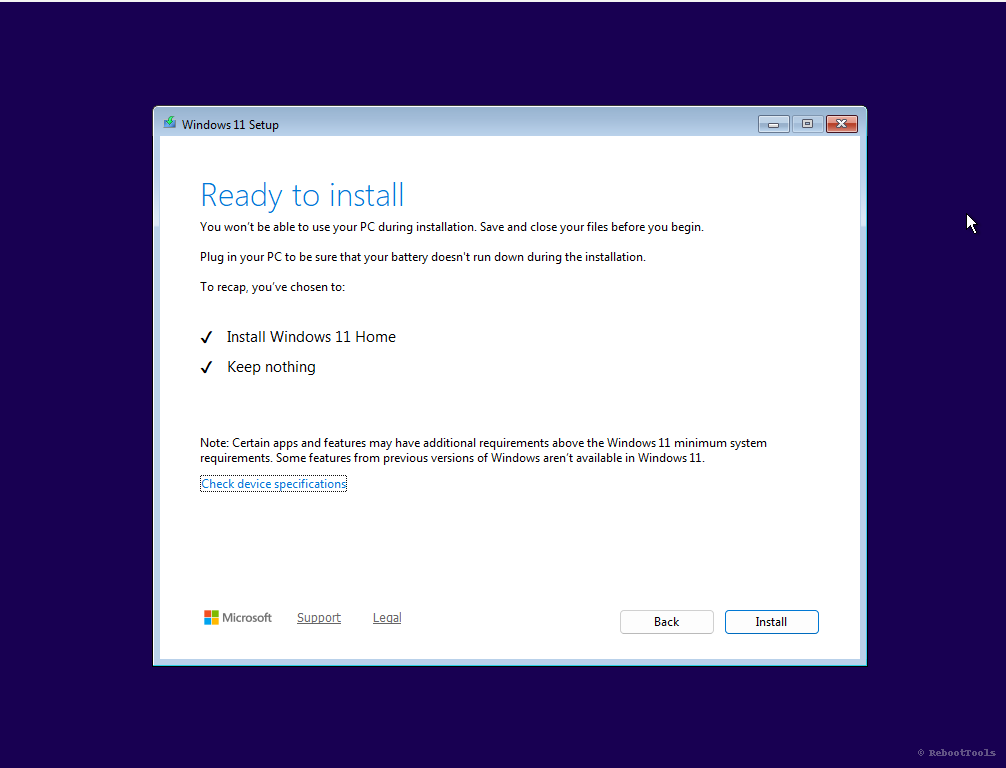
From here, the installation continues normally. You can perform either an upgrade or a clean install, depending on how you launched setup.
7. Installation in Progress
Setup will copy files and restart your PC multiple times. Depending on the drive speed and the age of the hardware, this may take from several minutes to much longer than on modern systems.

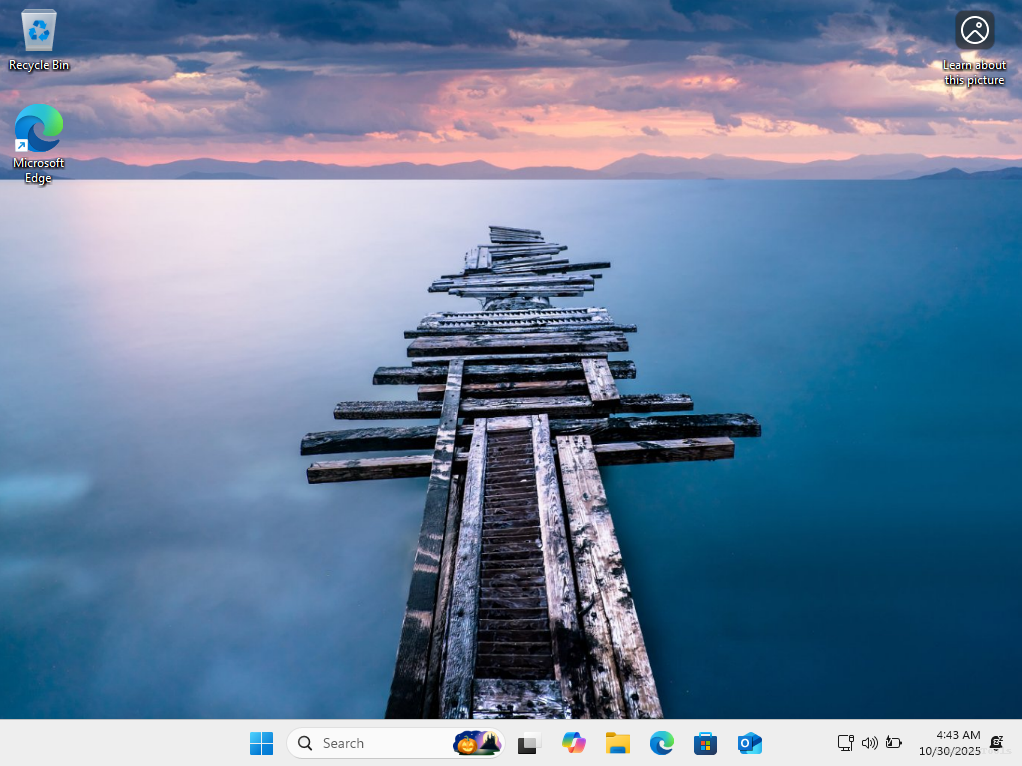
8. Windows 11 Successfully Installed
After setup completes, you should land on a working Windows 11 desktop. At this point, the system is installed even though the original hardware check would have blocked it.
Note: unsupported systems have generally continued to receive updates, but long-term behavior can always change in future Windows releases.
Next Steps After Installation
- Install missing drivers and check Windows Update
- Activate Windows with a valid license if needed
- Review privacy and telemetry settings
- Create recovery media and backup important files
- Keep boot tools such as Rufus and Ventoy available for future maintenance
If you plan to test multiple operating systems or maintain a multi-tool USB, Ventoy is especially useful. If you want a simple one-ISO workflow, Rufus is still one of the most practical choices.
Alternative Methods
The registry method in this guide is one of the cleanest approaches, but it is not the only way to install Windows 11 on unsupported hardware.
- Rufus bypass options: newer Rufus builds can prepare Windows 11 media with requirement checks disabled during creation
- In-place upgrade paths: some users upgrade from an existing Windows install using setup-based workarounds
- Modified ISOs: possible, but generally less desirable because they add trust and maintenance issues
For most users, the method on this page remains preferable because it uses the official installer and does not depend on unofficial repacks.
Risks and Limitations
- Microsoft may change update or support behavior for unsupported devices in future releases
- Older hardware may have incomplete Windows 11 driver support
- Performance can vary significantly depending on CPU, storage type, and RAM amount
- Very old systems may install successfully but still deliver a poor day-to-day experience
This is why backups matter. Before upgrading or clean installing, make sure important files are safe. If you need to back up or restore a system at disk-image level, tools like Clonezilla and Rescuezilla are worth keeping in your toolkit.
Frequently Asked Questions
Will I still receive Windows updates?
In many cases, yes. Unsupported devices have generally continued to receive feature and security updates, but Microsoft can change policy at any time. Treat this as practical reality, not as a permanent guarantee.
Is bypassing TPM and Secure Boot legal?
Yes. You are not cracking Windows or using pirated software. You are changing setup behavior during installation while using an official Windows image.
Will Secure Boot or TPM remain off after installation?
No. The bypass affects setup checks. If your system supports those features and you want them enabled later, you can still configure them in BIOS/UEFI.
Can I use this method with all Windows 11 editions?
It generally works with standard Windows 11 setup media, including common editions such as Home and Pro, as long as you are using a normal Microsoft-based installer.
Is this better than using Rufus bypass mode?
It depends on your workflow. Rufus is excellent when you are creating the USB from scratch and want the bypass integrated into the media. The LabConfig method is useful when you want to keep the original installer and apply the bypass directly during setup.