OpenConnect GUI – Installation & Usage Guide
This step-by-step guide shows how to install and configure OpenConnect GUI on Windows. Each step is illustrated with screenshots.
Download first: Get the latest installer from our OpenConnect GUI program page.
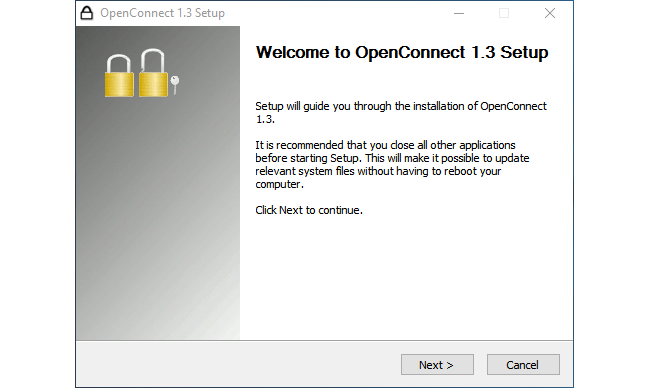
Installation
- Run the installer and follow the wizard.
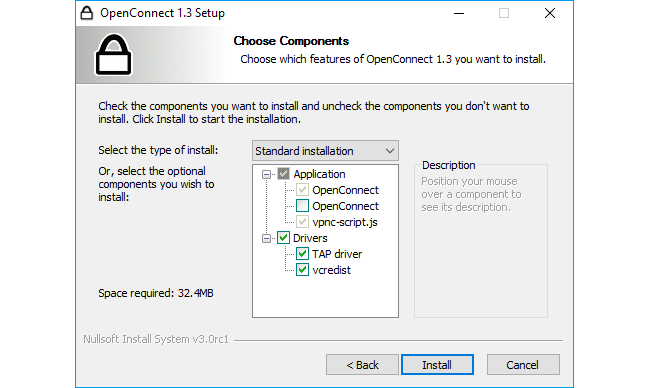
- Choose installation components. Keep default options unless your administrator requires specific changes.
Configuring and Connecting
- Launch OpenConnect GUI from the Start Menu.

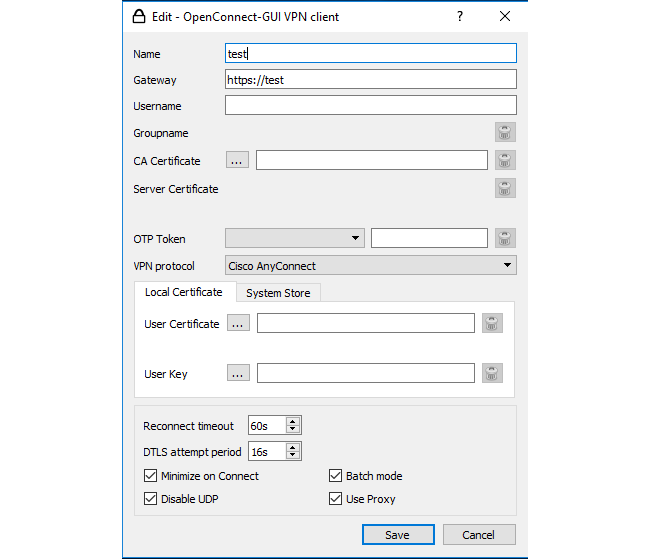
- Create a new VPN profile and enter your server address.
- Edit the profile and fill in authentication details (username, certificates, or tokens).

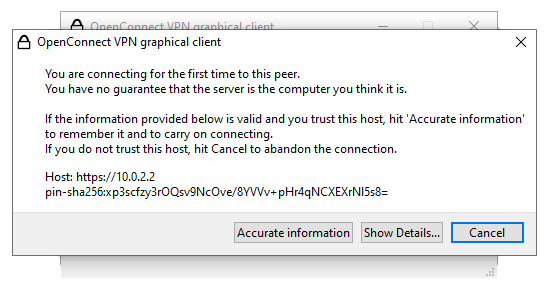
- When connecting for the first time, accept the server certificate if you trust the host.
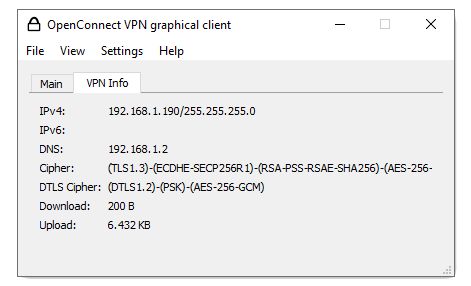
- Once connected, check the VPN Info tab to see IP, DNS, and encryption details.
- Use the tray menu to quickly reconnect or switch between saved profiles.
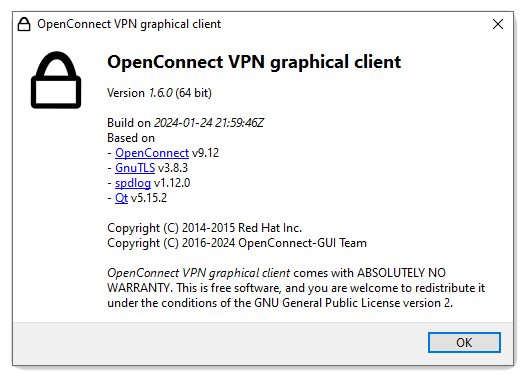
- Check the About window for version details and license information.

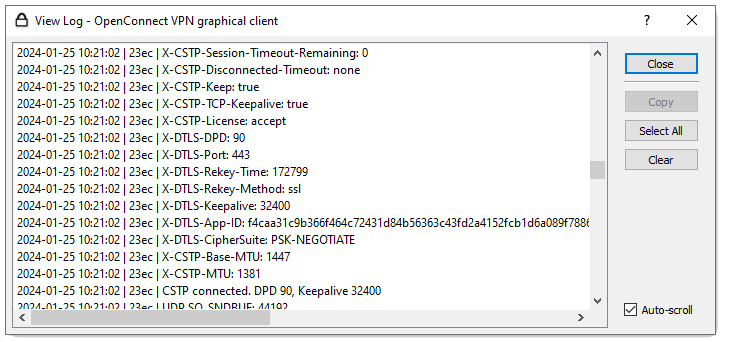
- Use the log window to troubleshoot if the connection fails or drops unexpectedly.
Tips
- Use Save & Connect to reconnect faster next time.
- If your company uses MFA, OpenConnect GUI will ask for the code during login.
- Always verify certificates to avoid connecting to untrusted servers.
- Use the log window to troubleshoot and send details to your administrator if needed.